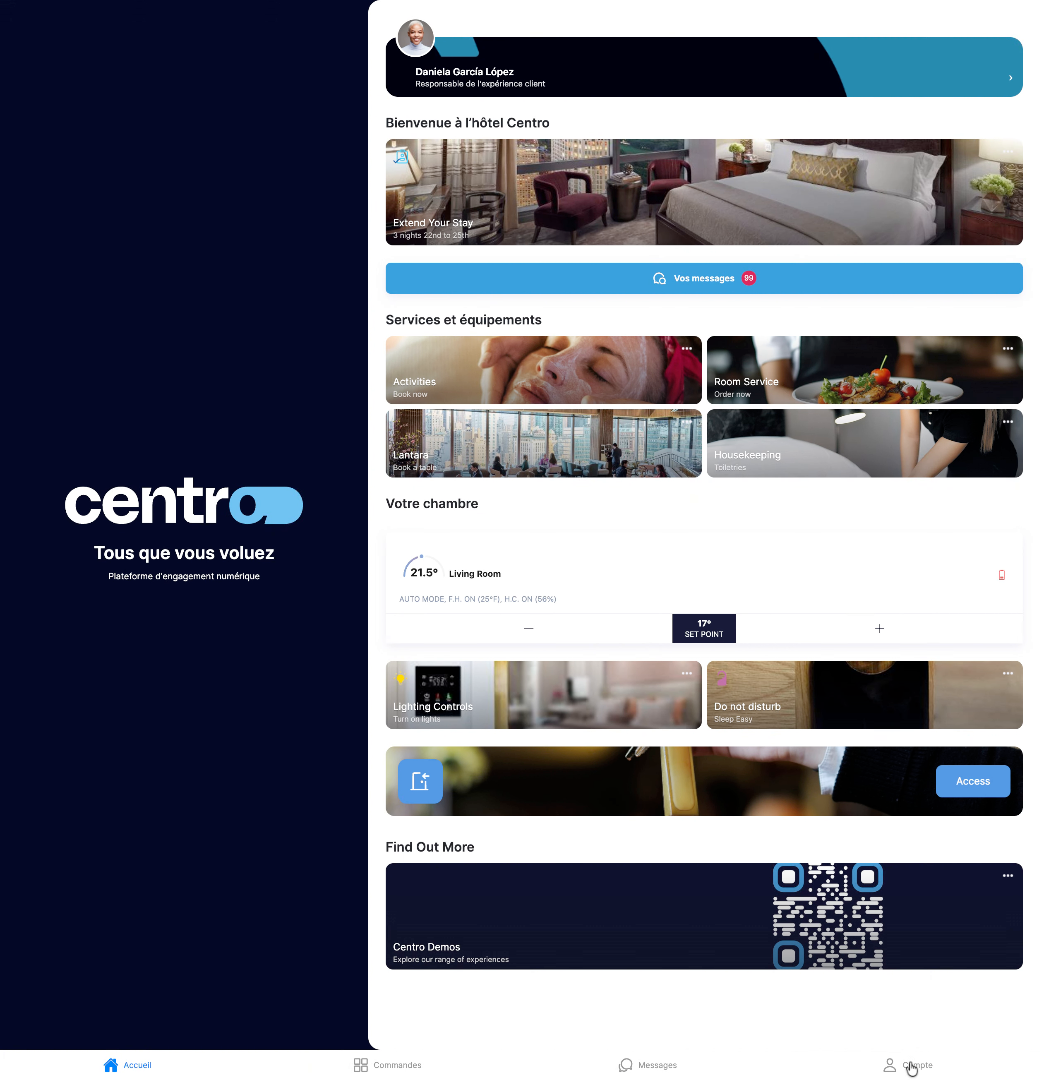
MultiLanguage Layouts
Centro webapps have full multilanguage support. Administrators can allow users to access specificlanguages as required on their centro system
1. Introduction
Native features navigation , buttons and business flows such as reservations , ordering , cart and checkout. All have standard translations built in. note that even these standard translations can be overwritten for better localisation
2. Click Compte Menu
When setting up the centro system default languages can be setup. These can be assigne Building wide or per Location or per user. furthermore, users can change their language selection on the fly

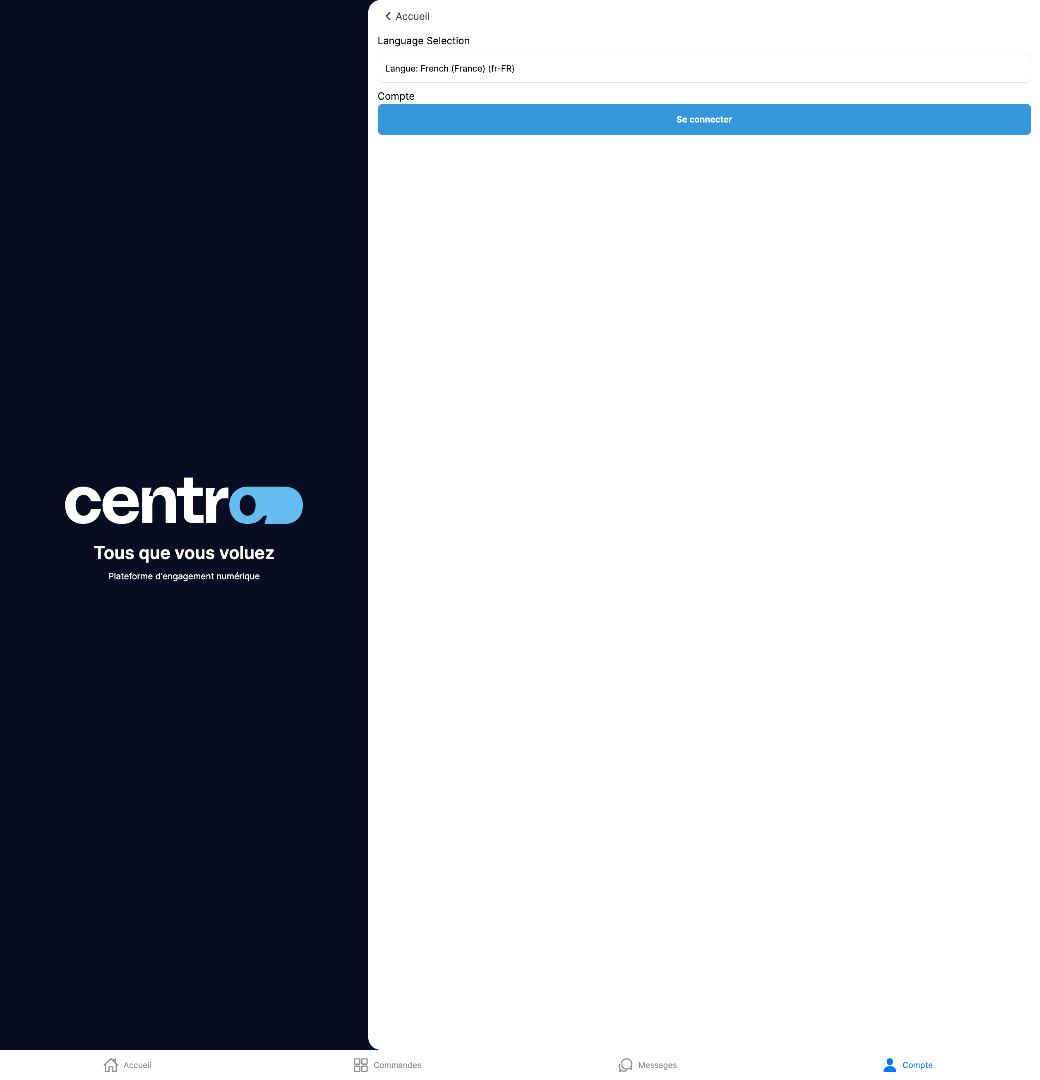
3. Select French Language
On the account page the language can be selected from the supported languages that have been enabled in the centro setup.
4. Access Conto Section
I can now see all of the navigation text and page headers and elements have changed to Italien Translations.

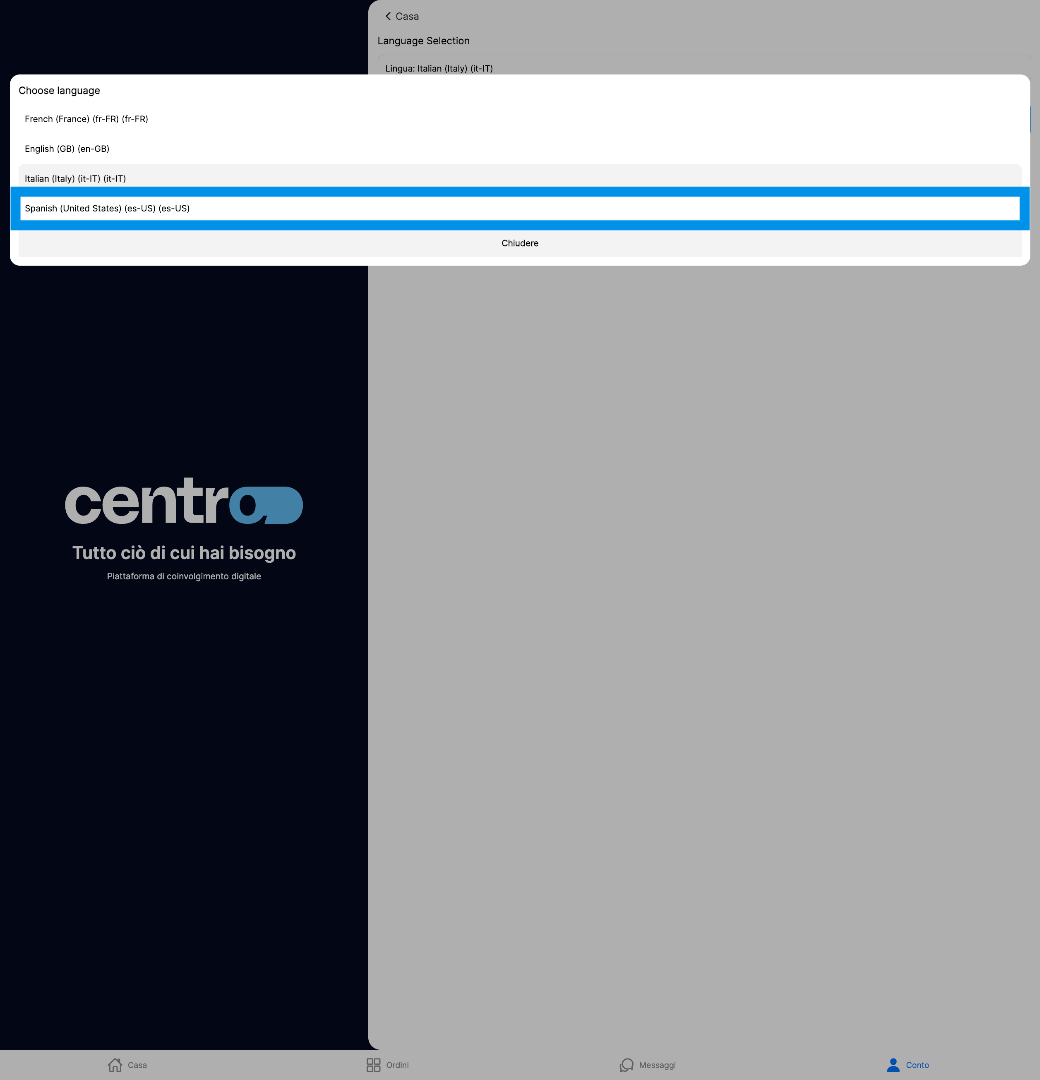
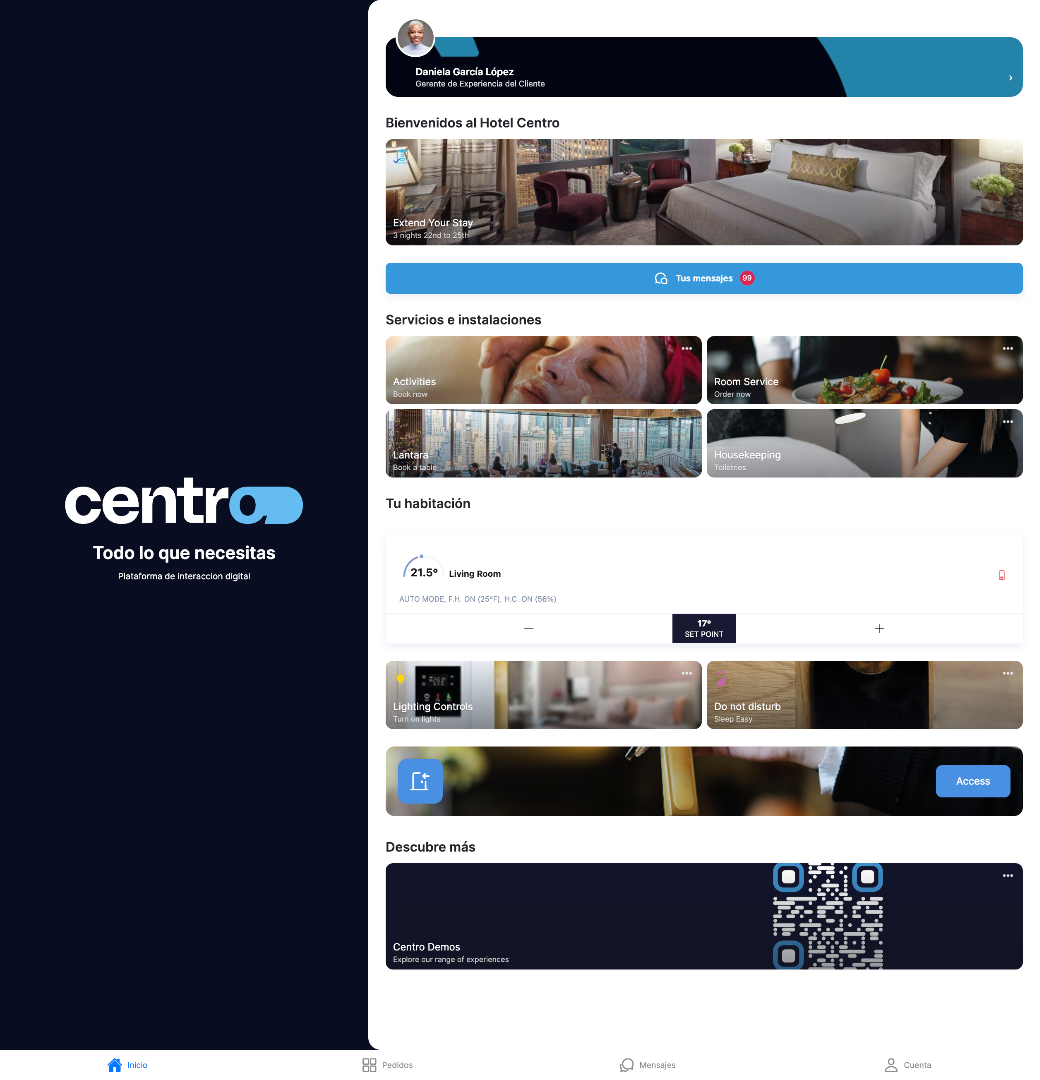
5. Switch To Spanish Language
Now ill change over to Spanish
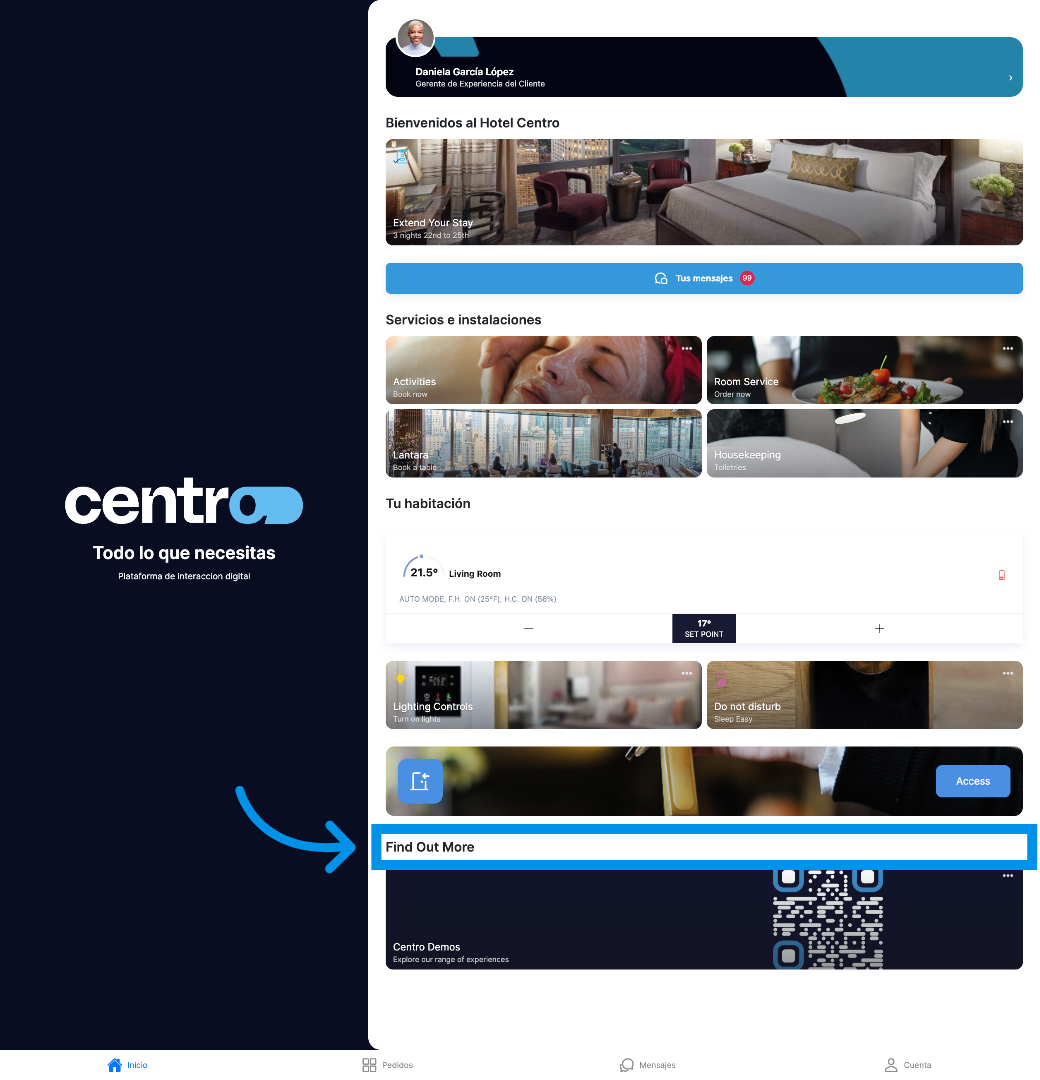
6. Click Find Out More
Many of the translations you can see are native but the power of centro is in deep customisation. So many of the translations have been added especially for this unique layout. Now i'll walk through adding a custom translation for this user interface element
7. Switch To Demo Network
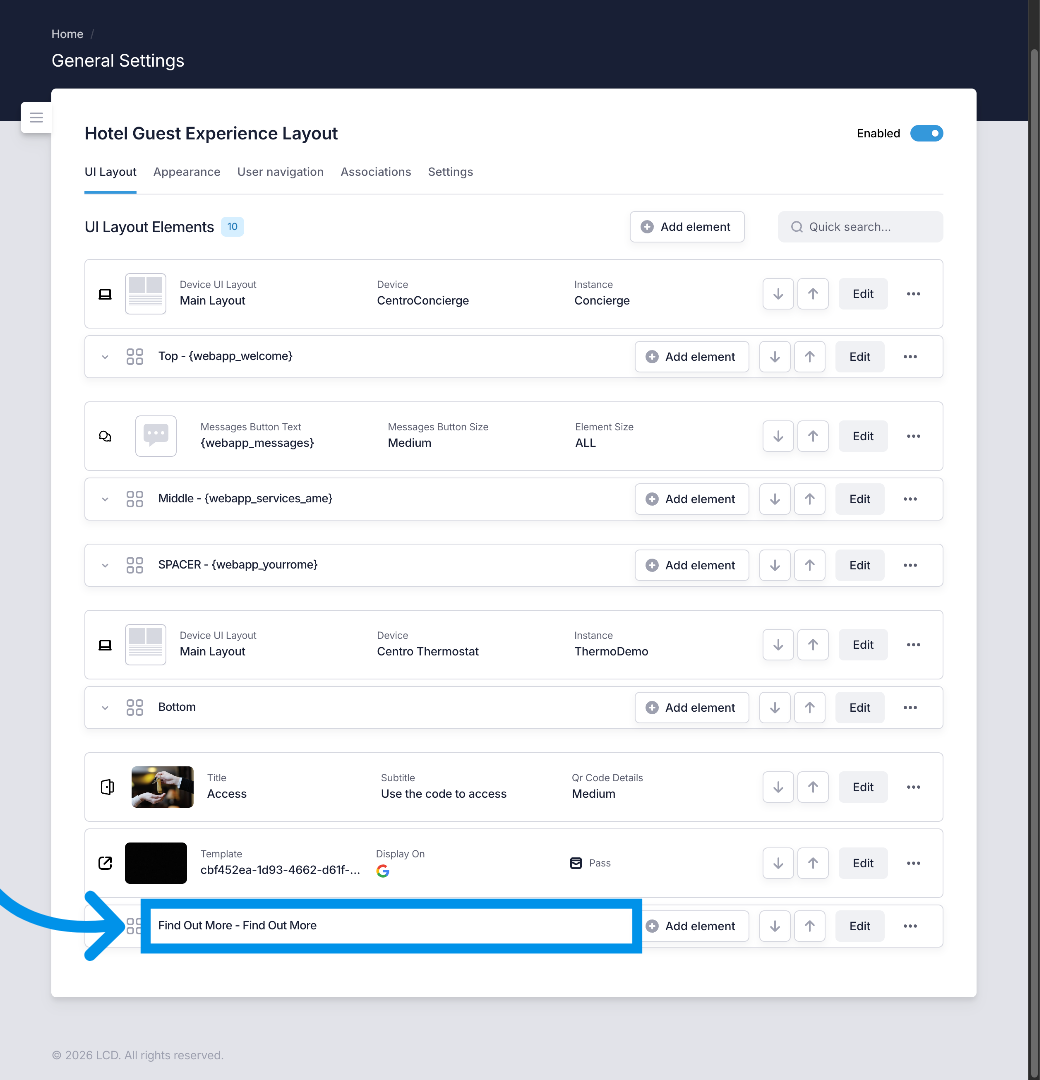
In the settings for my centro setup ive navigated to the User interface Layout editor page and I can see the bottom element currently says " find out more"
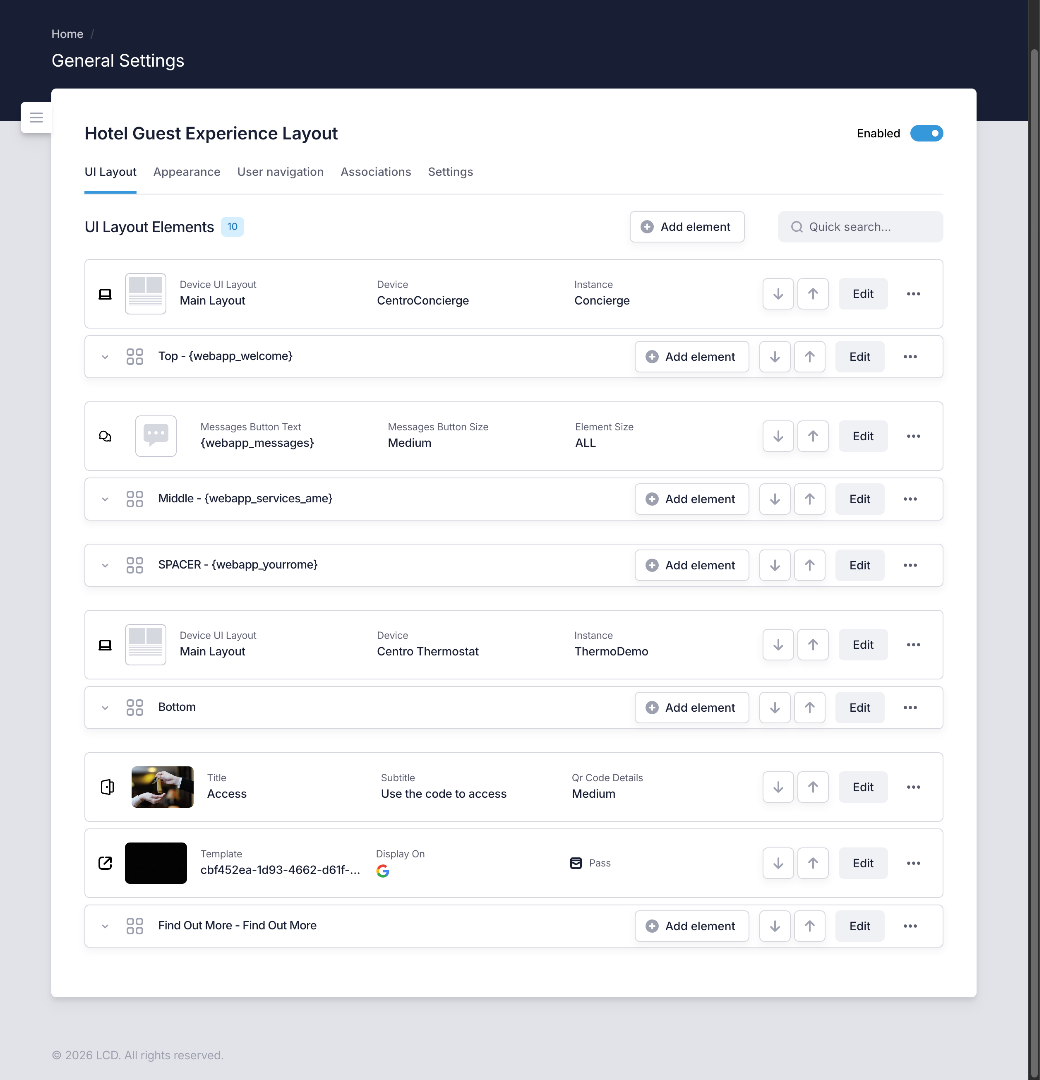
8. Click Find Out More Link
This is static text currently but i can edit the element to ensure i have translations for all of my supported languages.
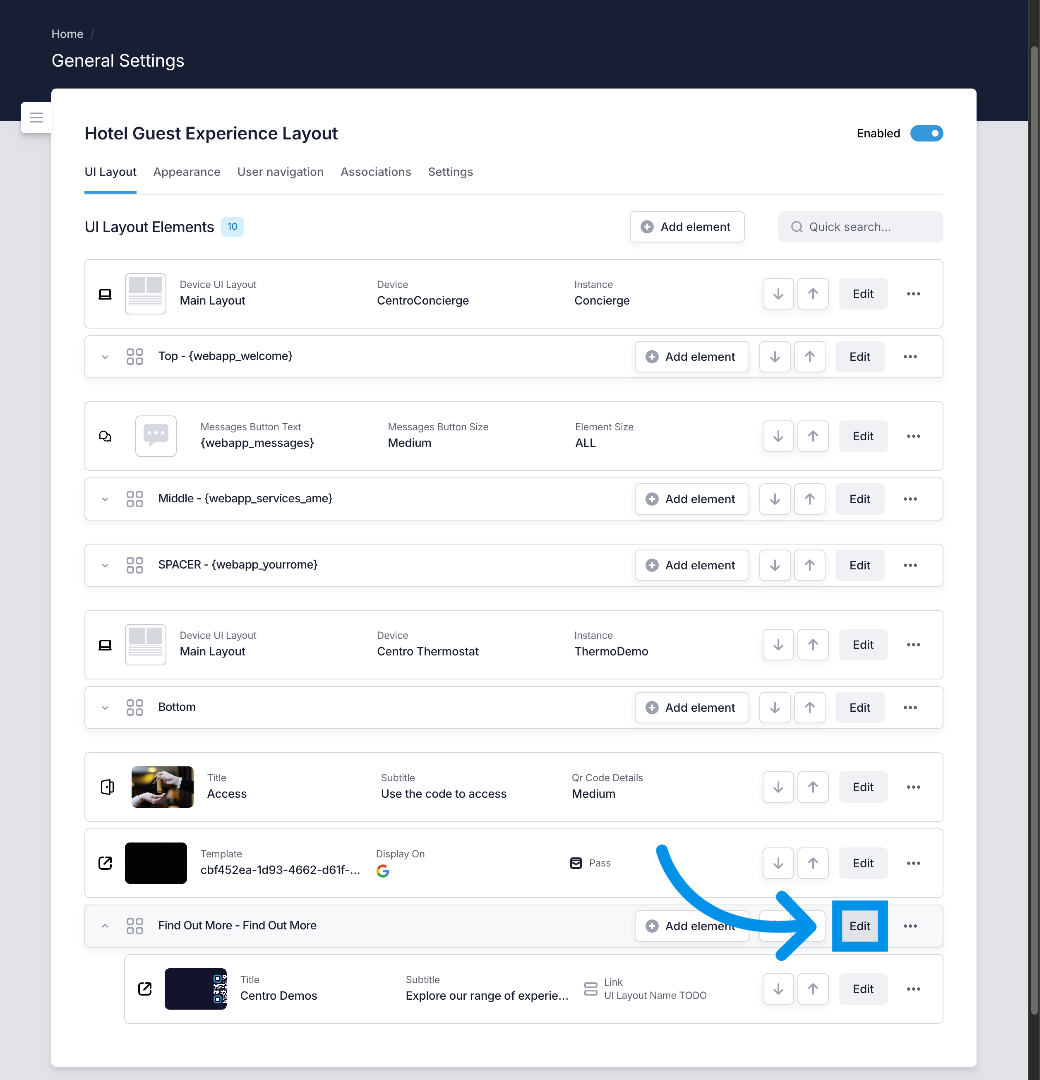
9. Click Edit Button
I can click on the edit button and add a key for a centro property.
10. Click Find Out More
I want to edit the "text to display field"
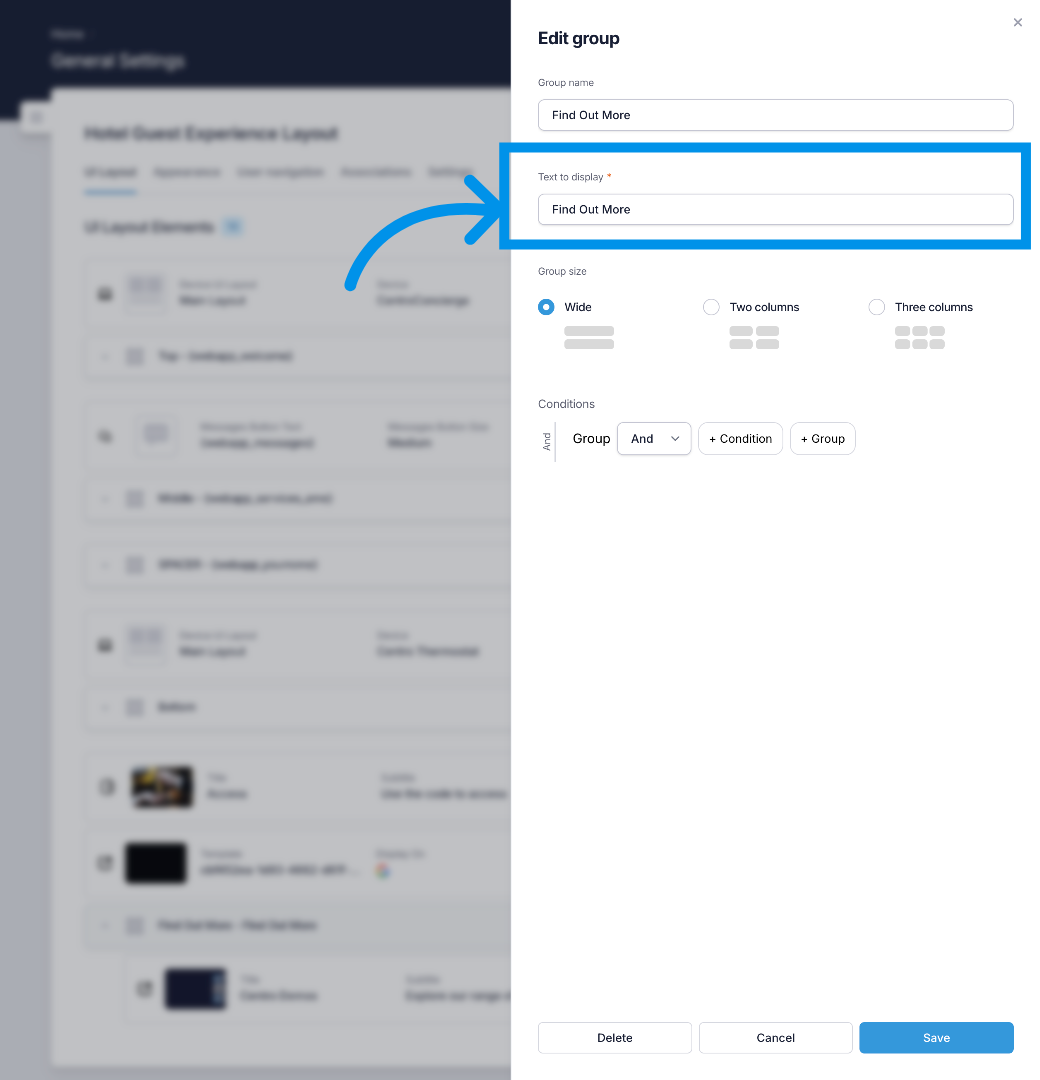
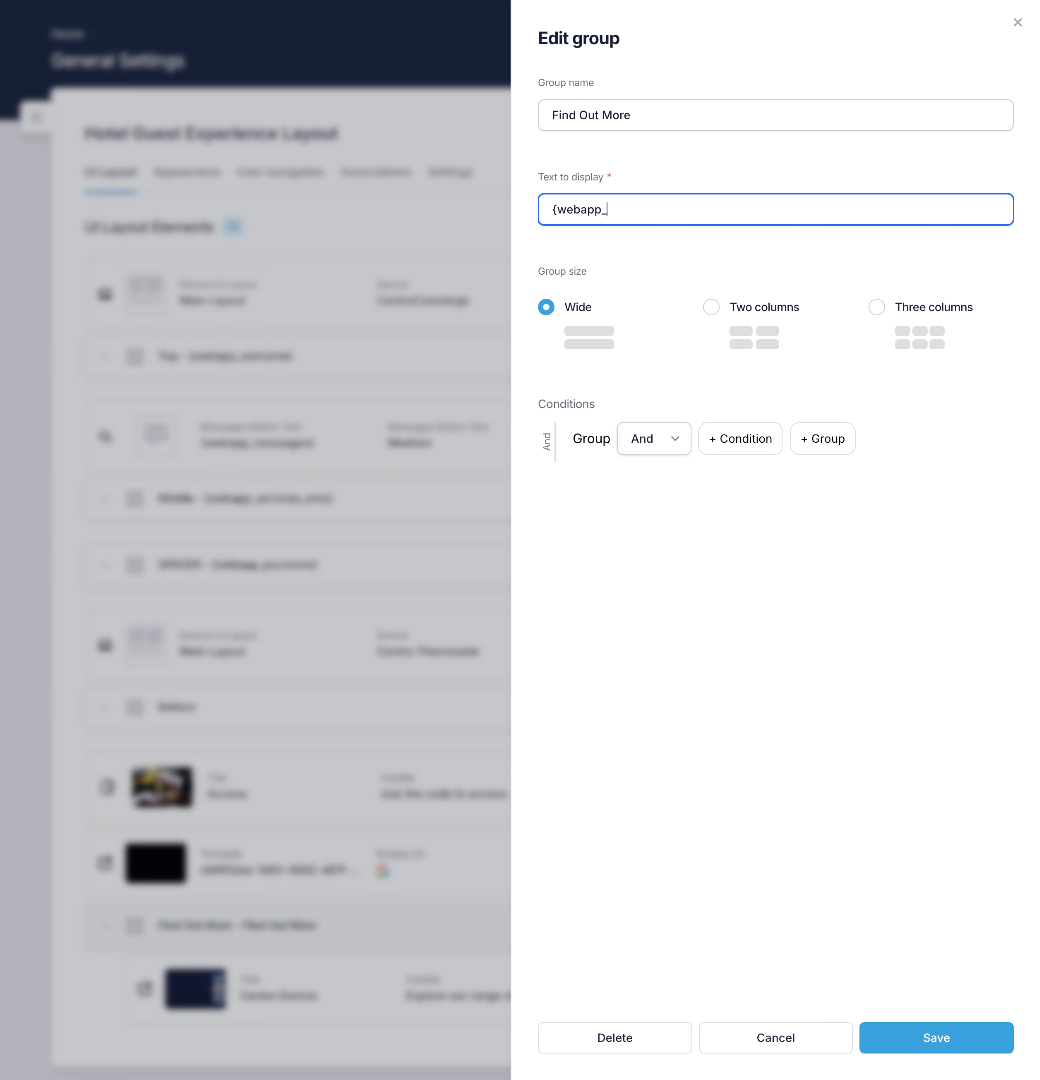
11. Enter Translation Key
Im going to enter a translation key. Then i will go and create a centro property that supports this key. As you can see, text entered within curly brackets are treated as centro property keys and when rendered on a layout, template or dashboard they are replaced with their appropriate value. note i could do this the other way around by creating the property first
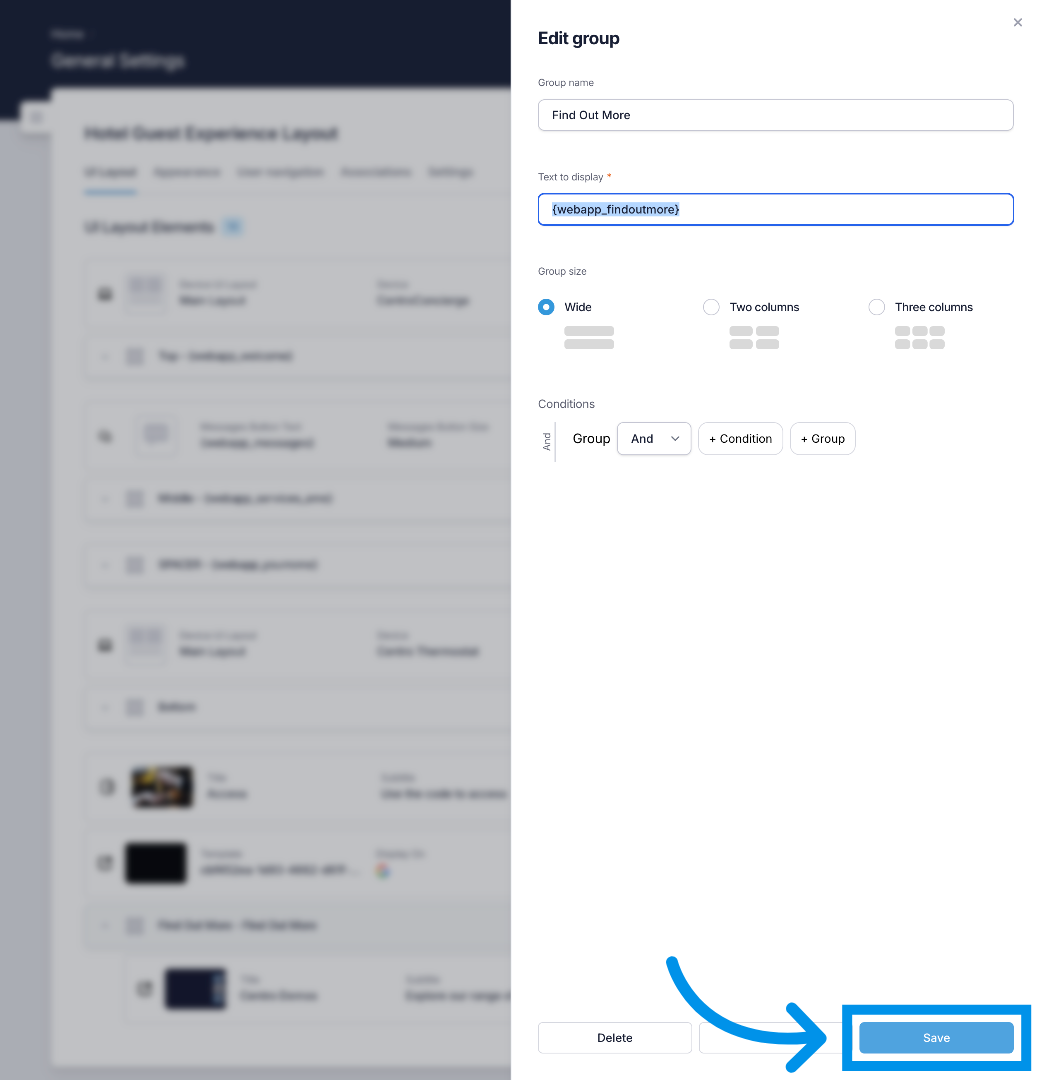
12. Save Changes
I'll save my changes to apply them to the layout.
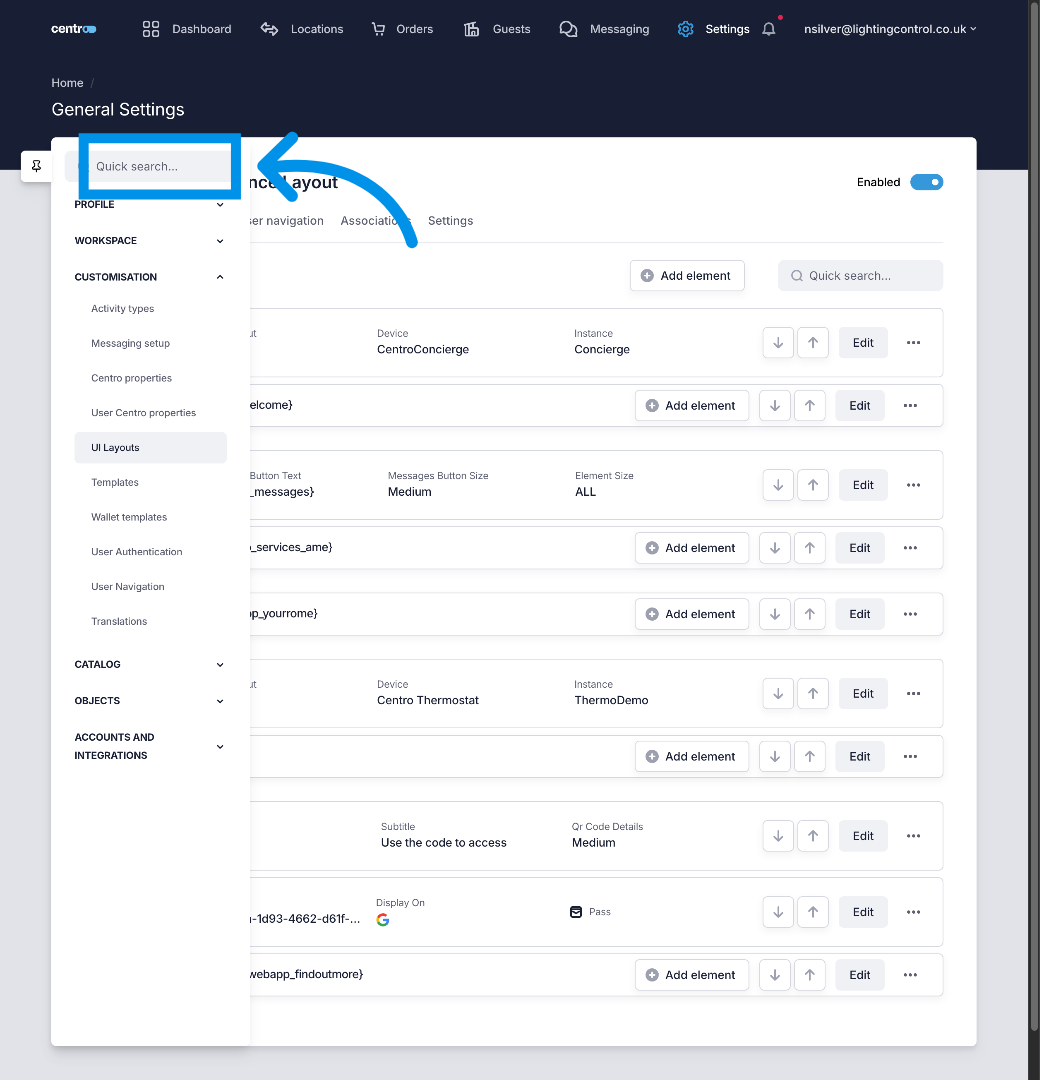
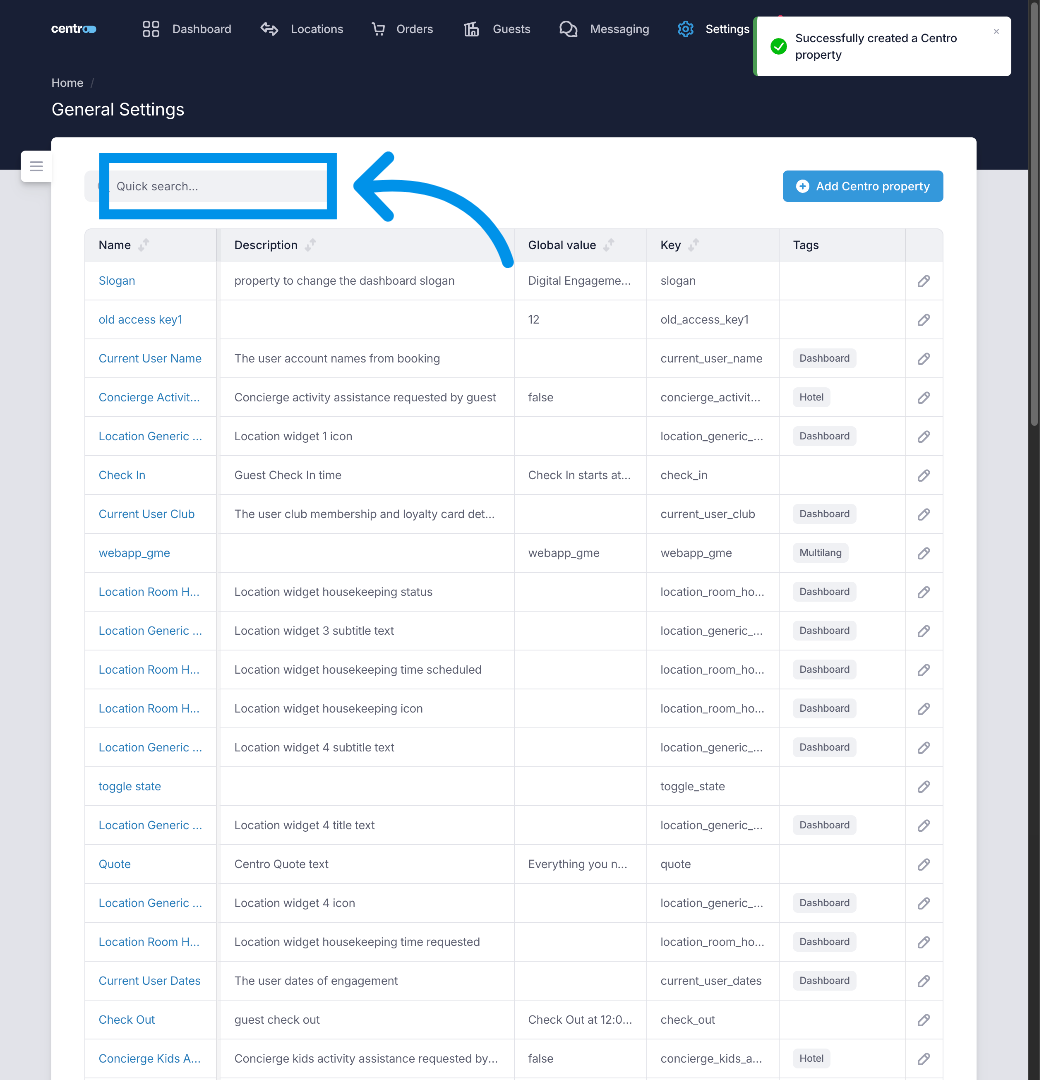
13. Open Quick Search
Now i need to add a new Centro Property , first i can use the settings search to navigate to the centro properties page.
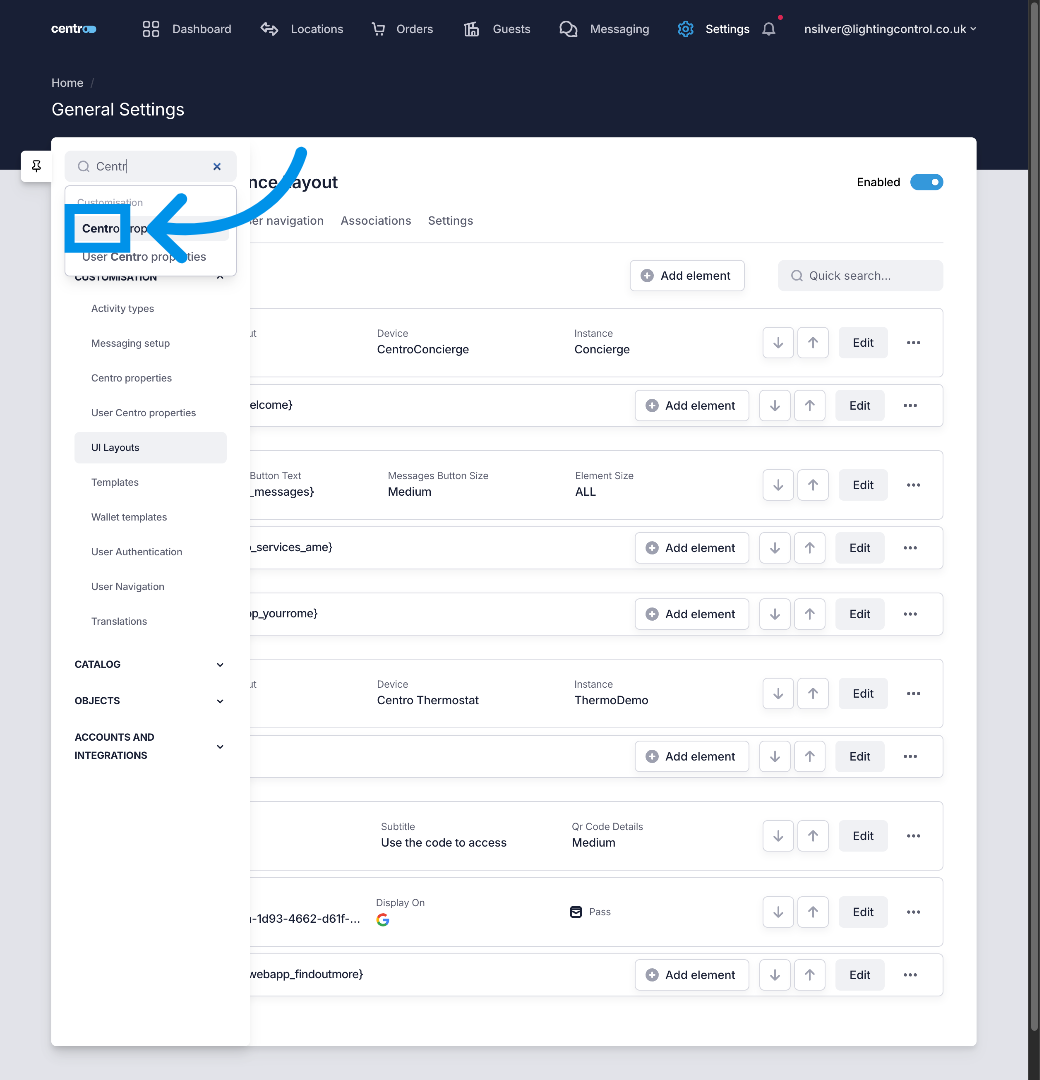
14. Select Centro Result
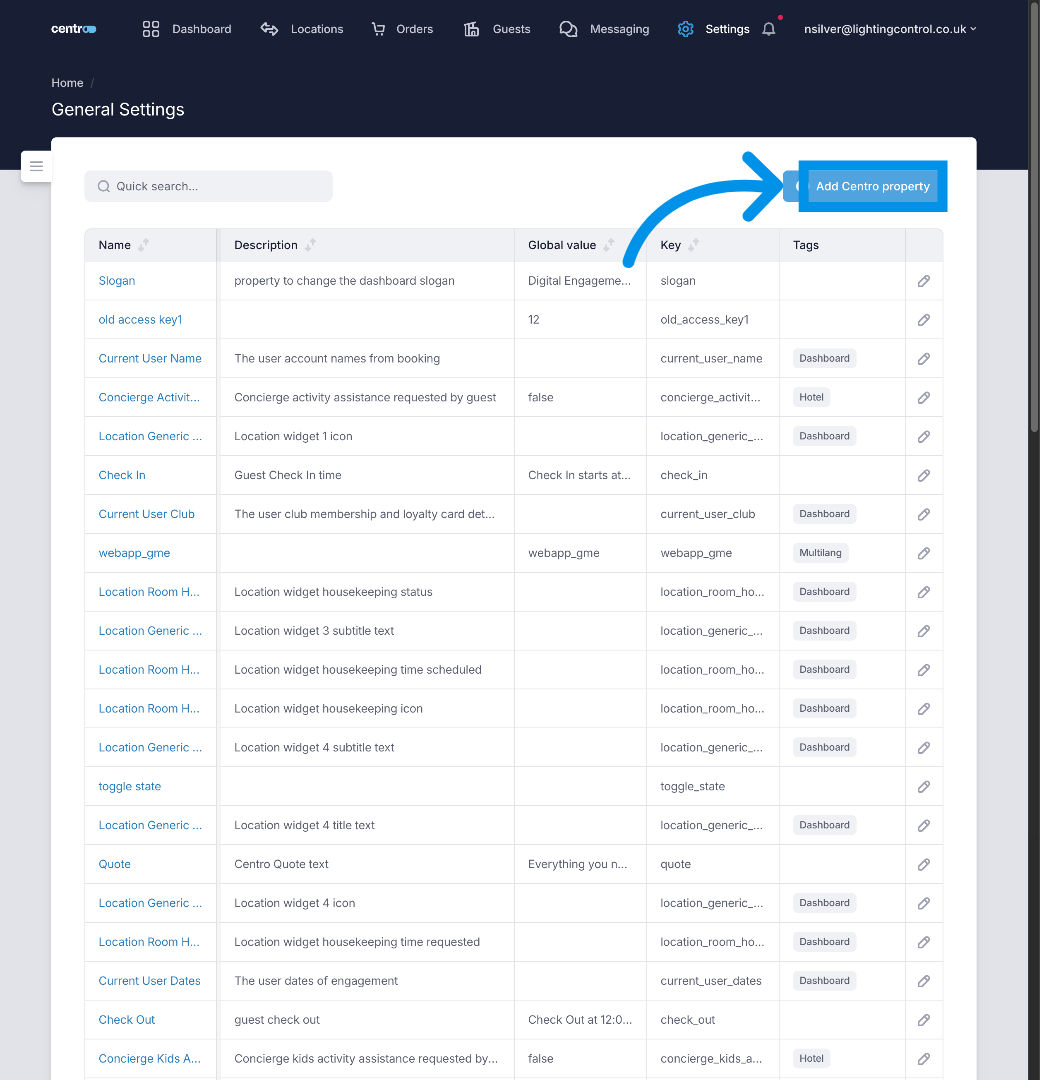
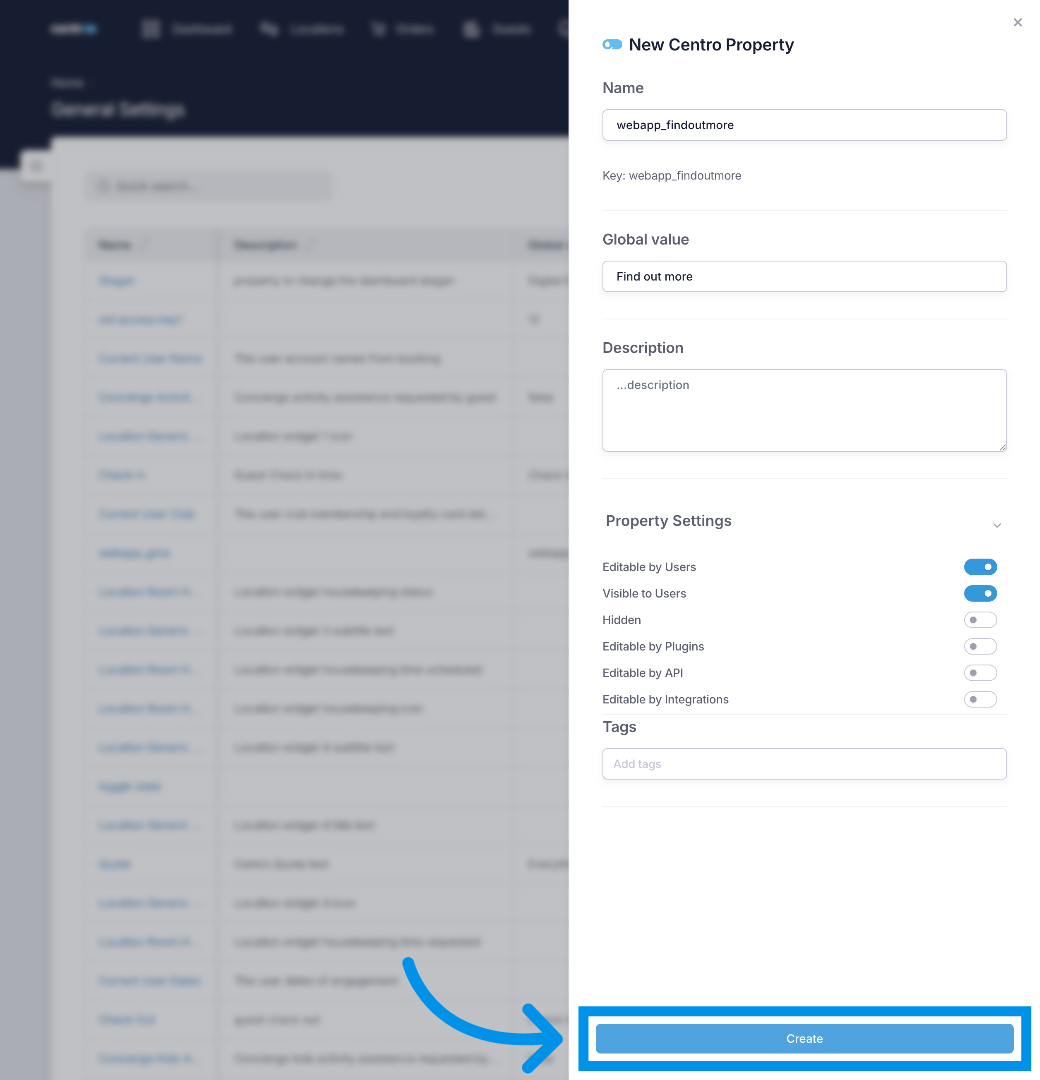
15. Add Centro Property
On this page i can add a new centro property,
16. Enter Property Name
Ill enter the key value i choose into the Name
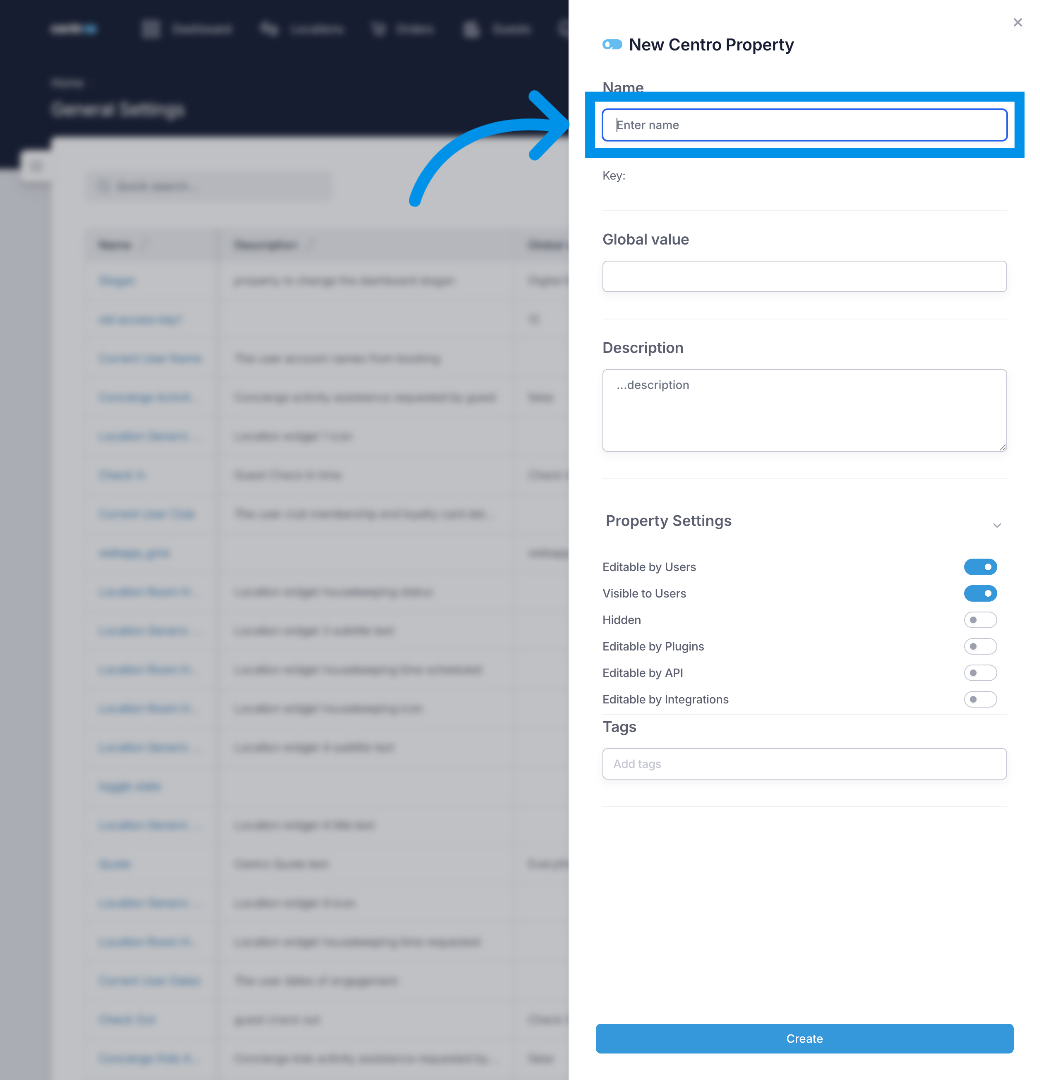
17. Fill Property Name
18. Click Property Field
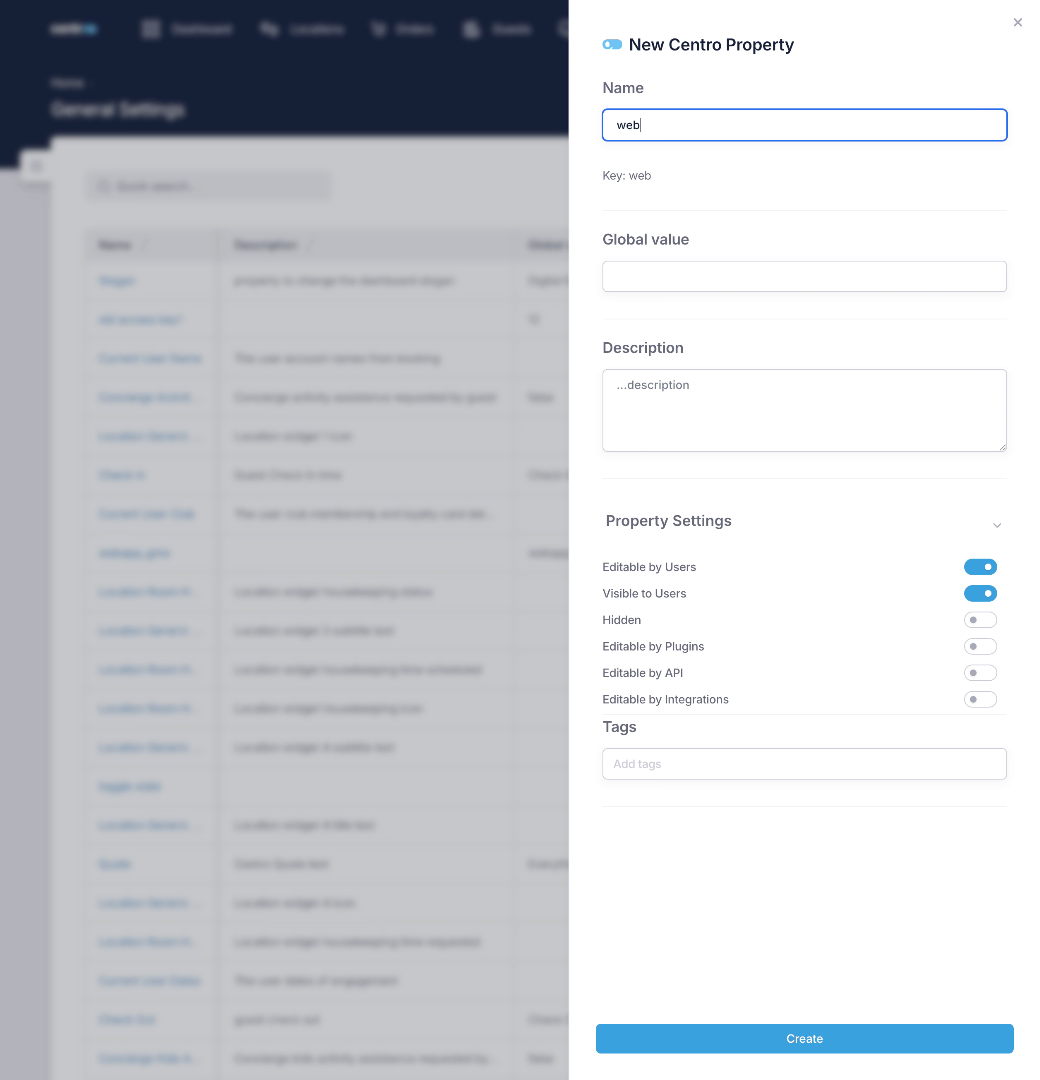
The key is automatically derived from the property name
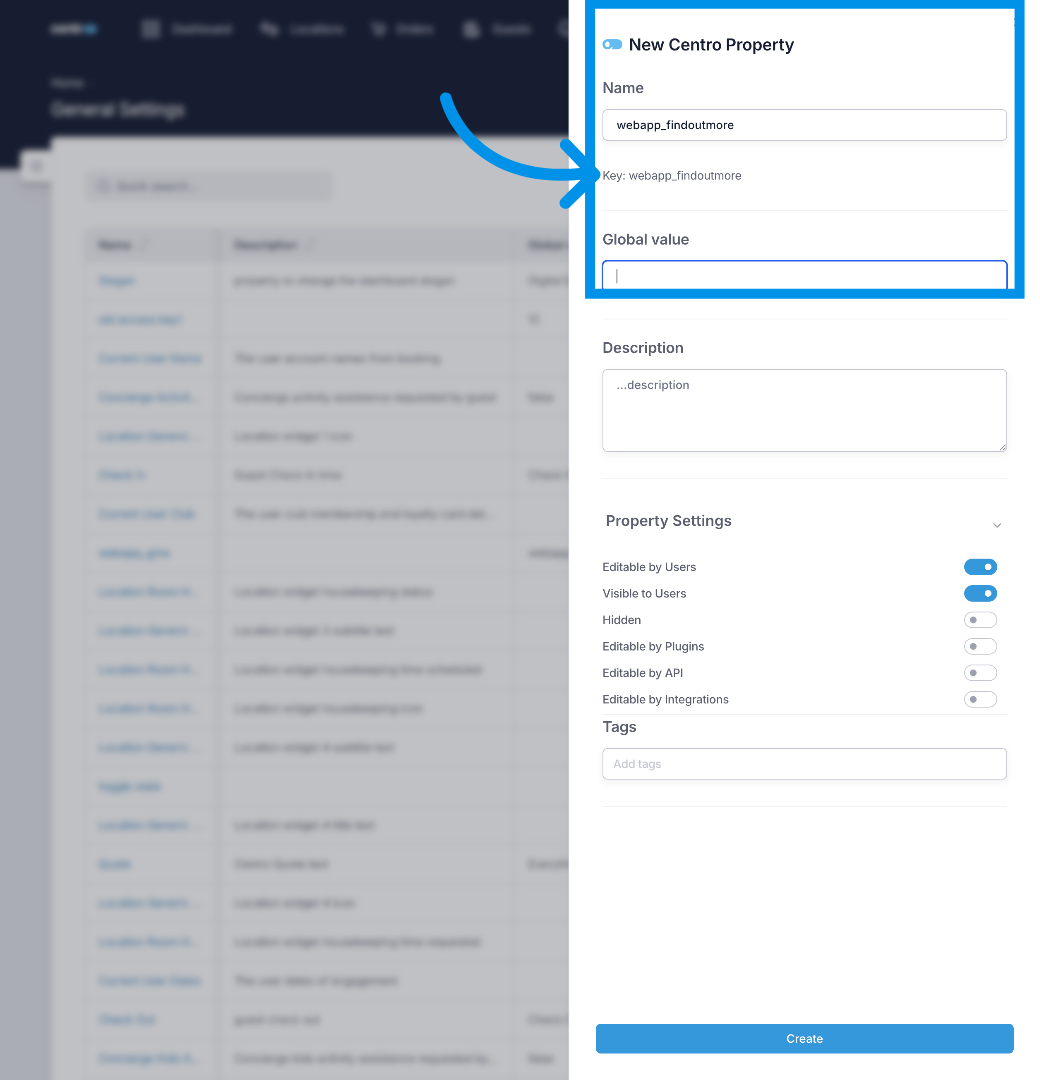
19. Create Property
I first create the property then i will search for it and edit it.
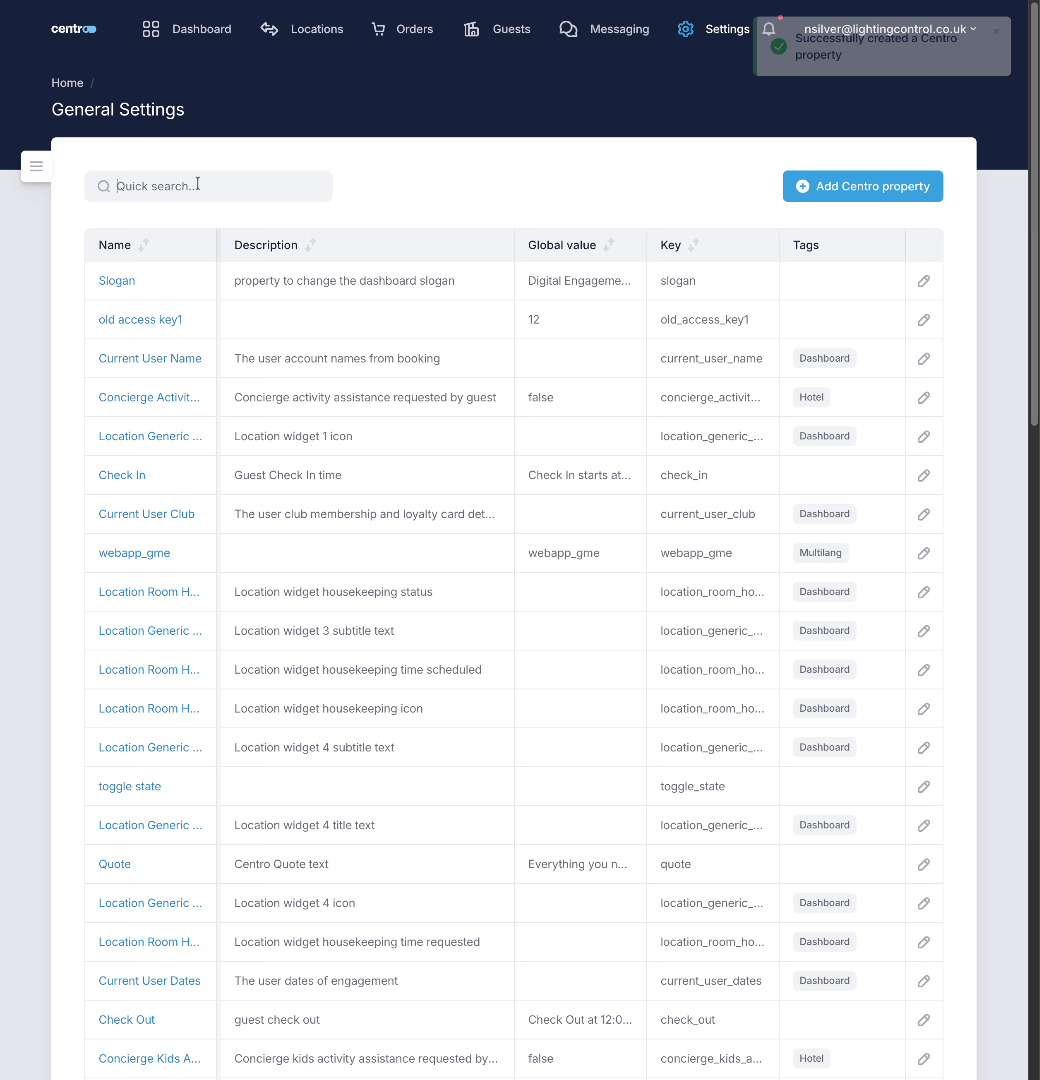
20. Open Quick Search
I can search for the property by key or name.
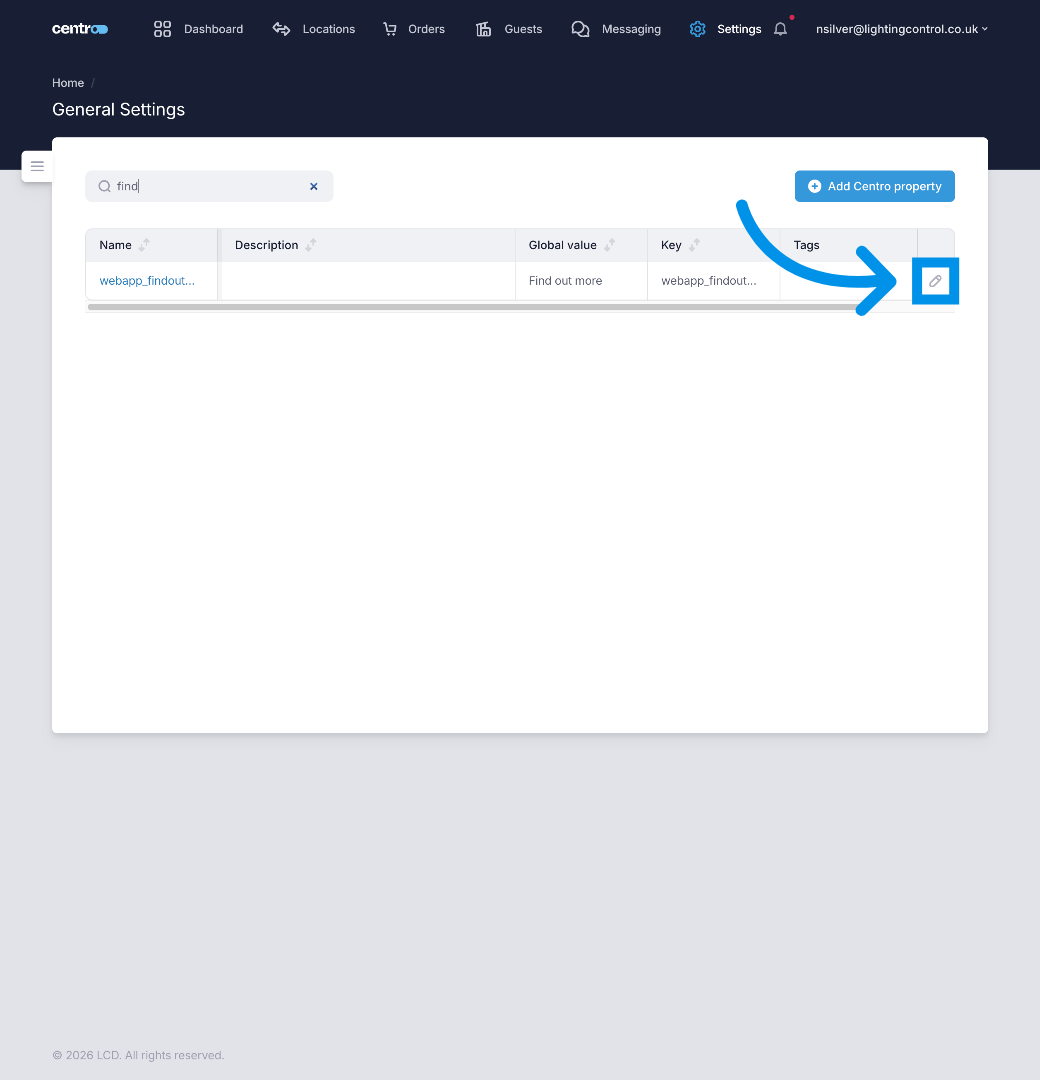
21. Enter Search Term
Fill "find".
22. Click Search Result
I can then click the edit button to open the editor.
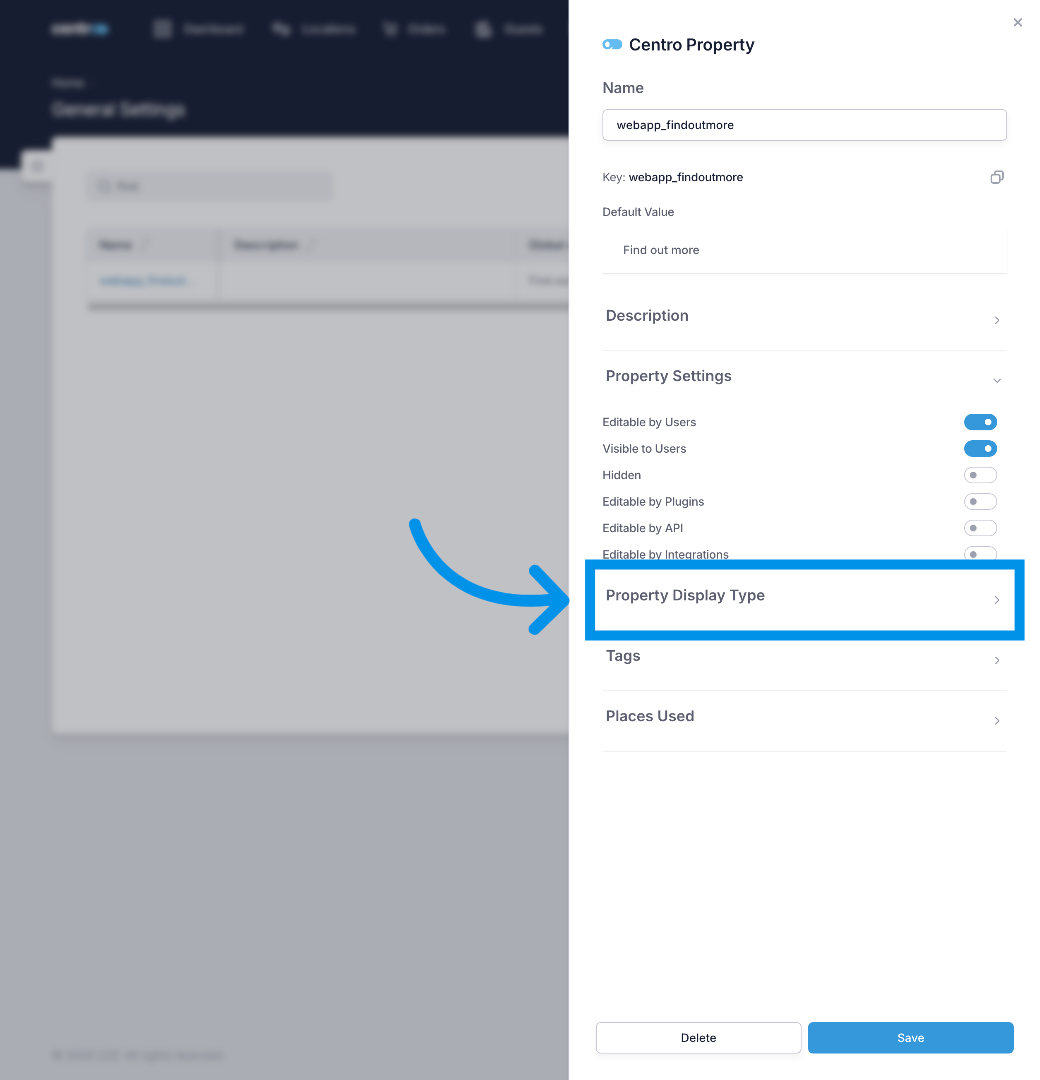
23. Open Display Type
I want to use this Centro property for translation. I need to go the property display type and change the type.
24. Open Options Menu
This defaults to a simpl text on creation
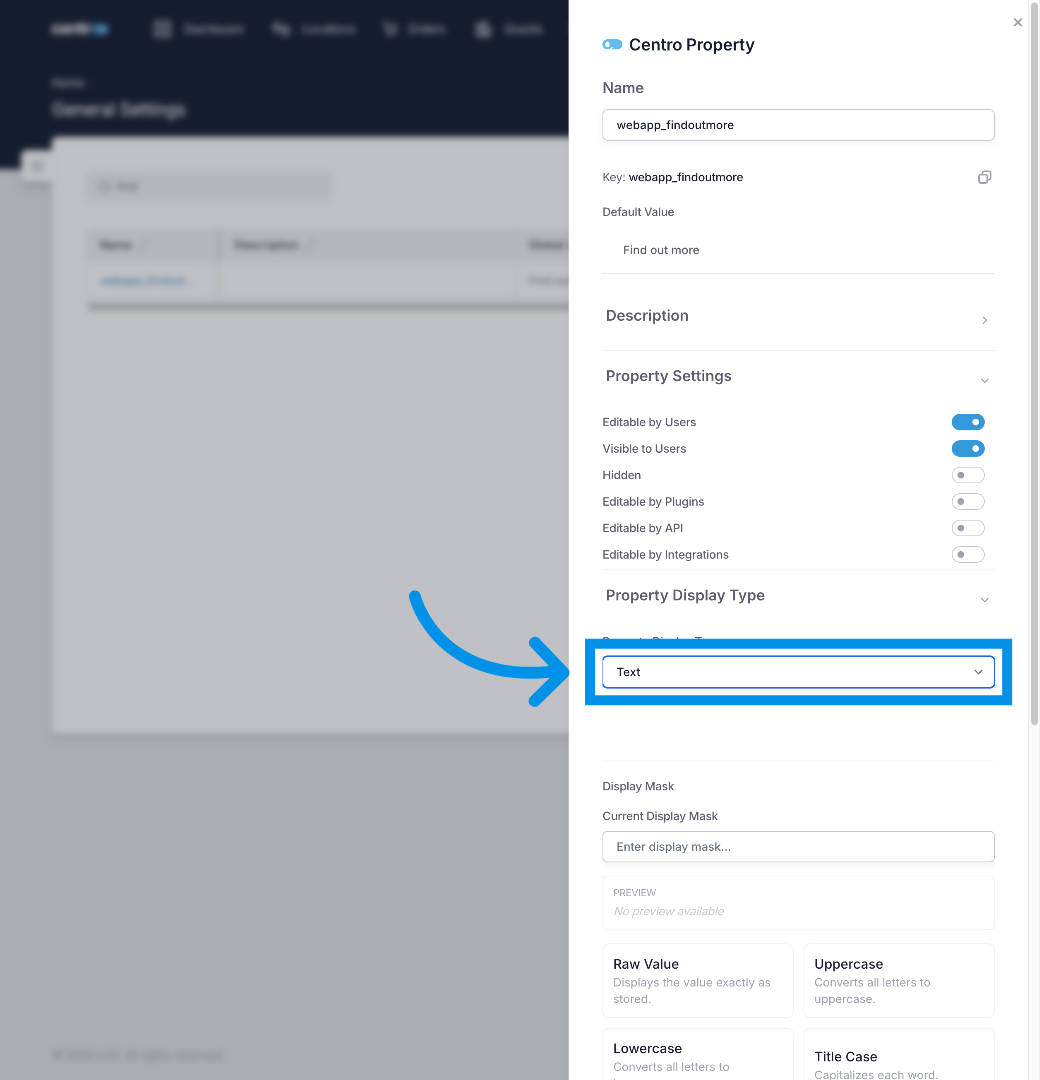
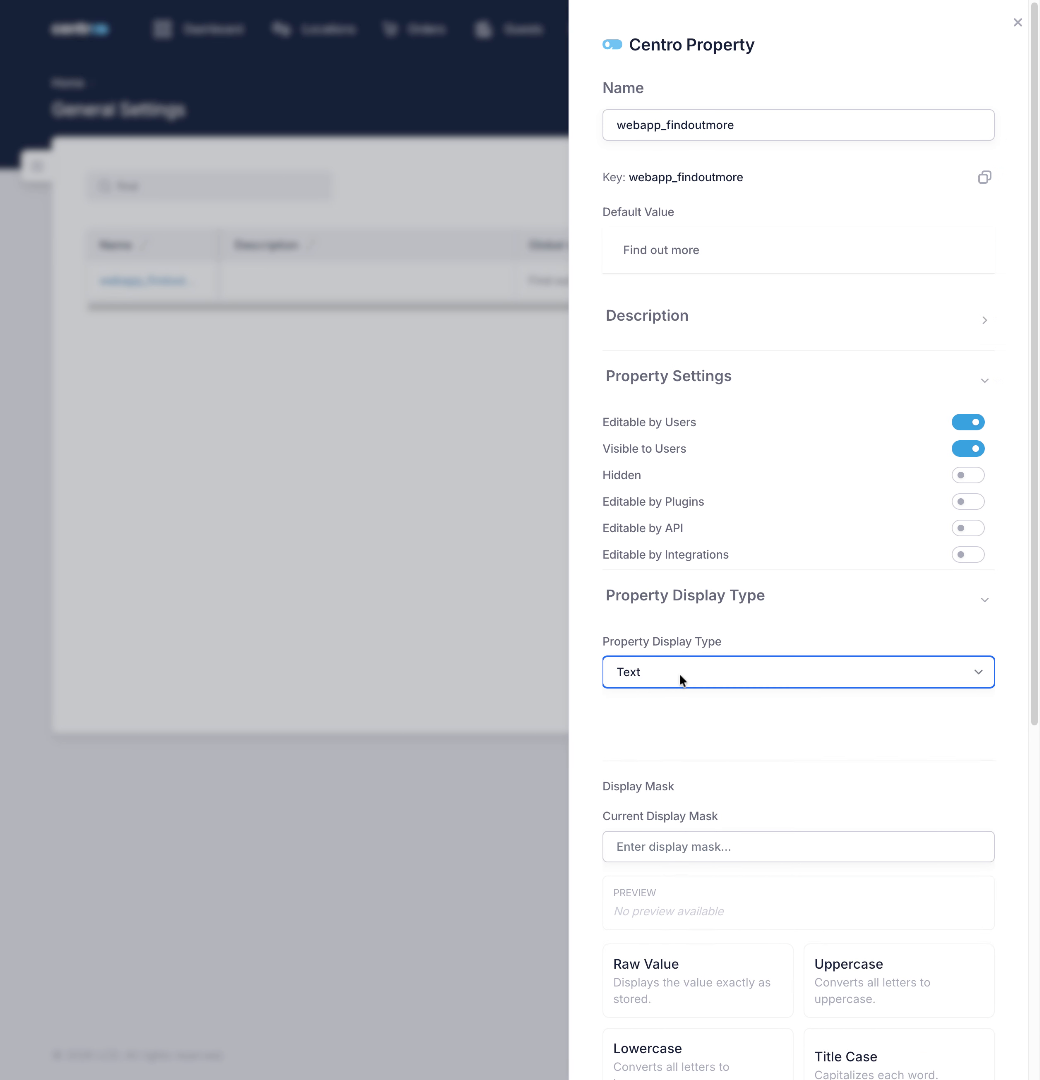
25. Fill Display Type
Fill "...".
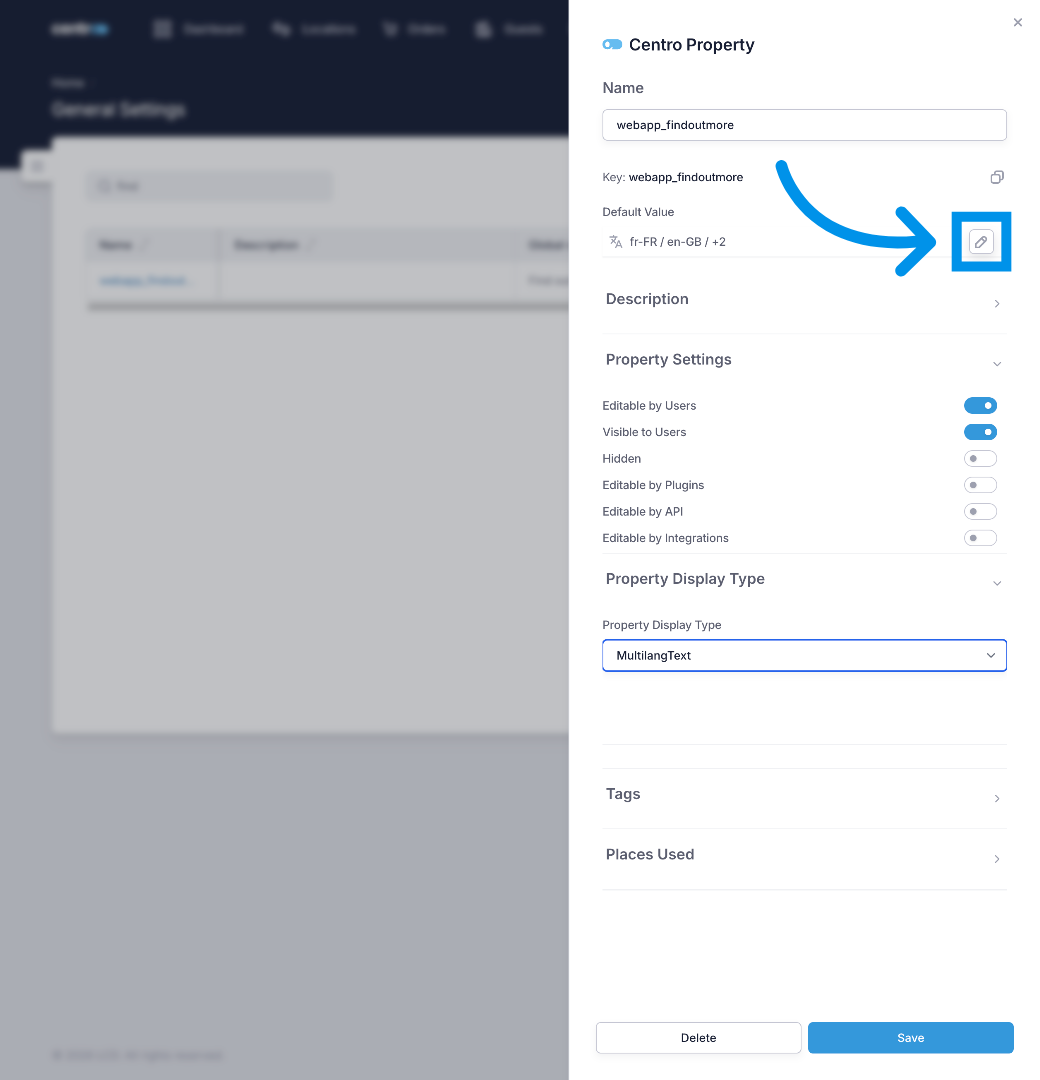
26. Click Language Selector
Now i have set the type to Multi Language Text i can edit the translations for each of my supported languages.
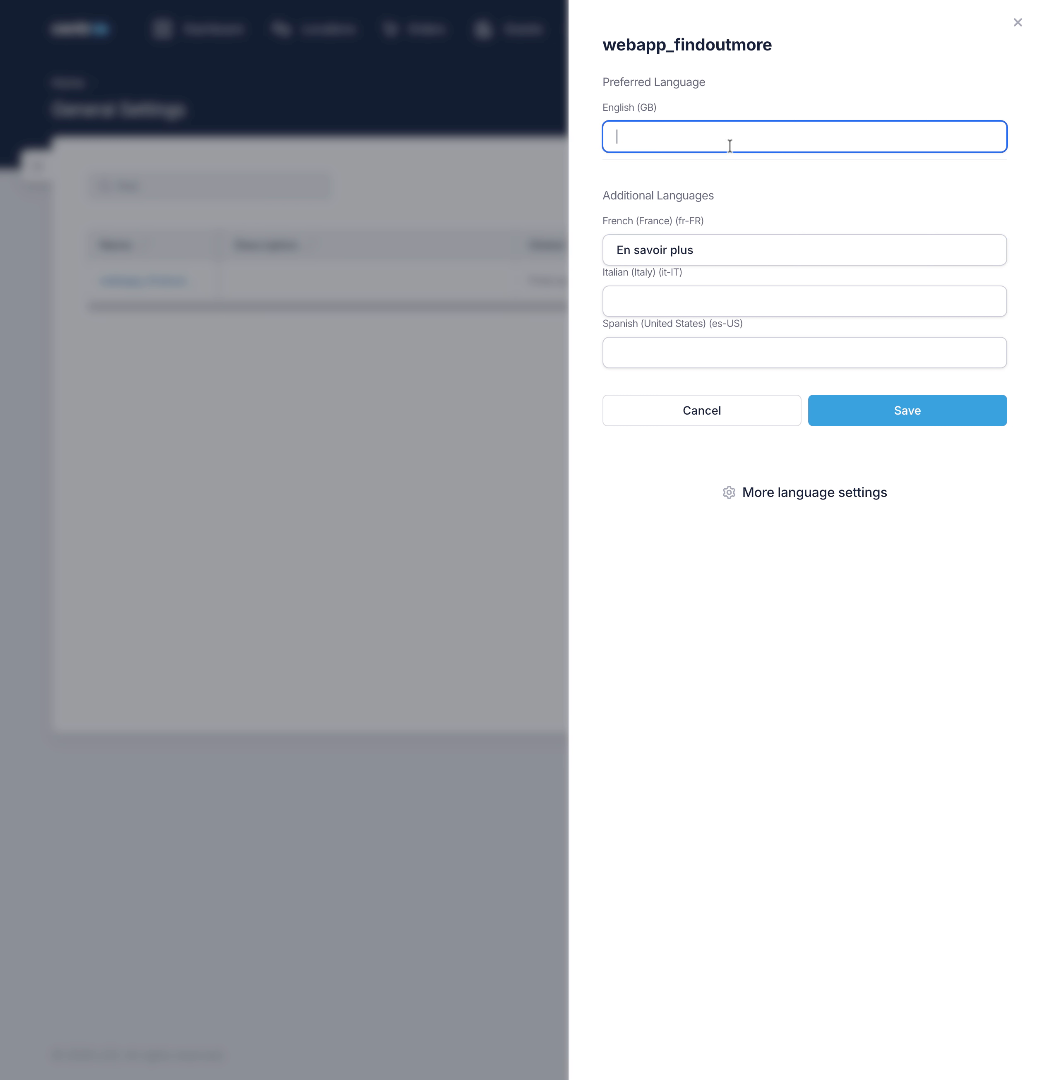
27. Fill English Label
I need to fill out the translations for each language i have enabled. Automatic translation tools within centro are available on our enterprise tier.
28. Switch To Demo Network

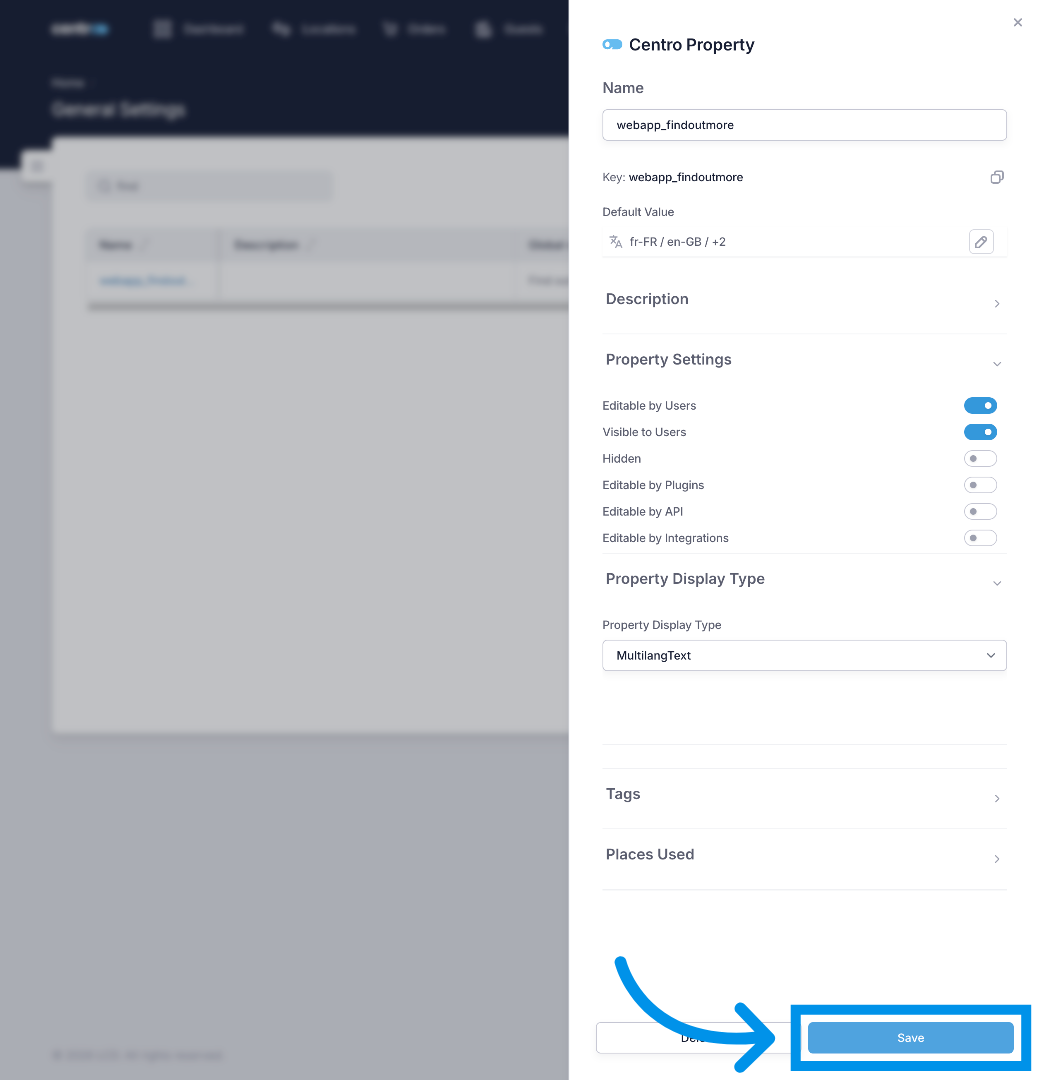
29. Save Translation
One im happy i'll save these translations and take a look on the user interface
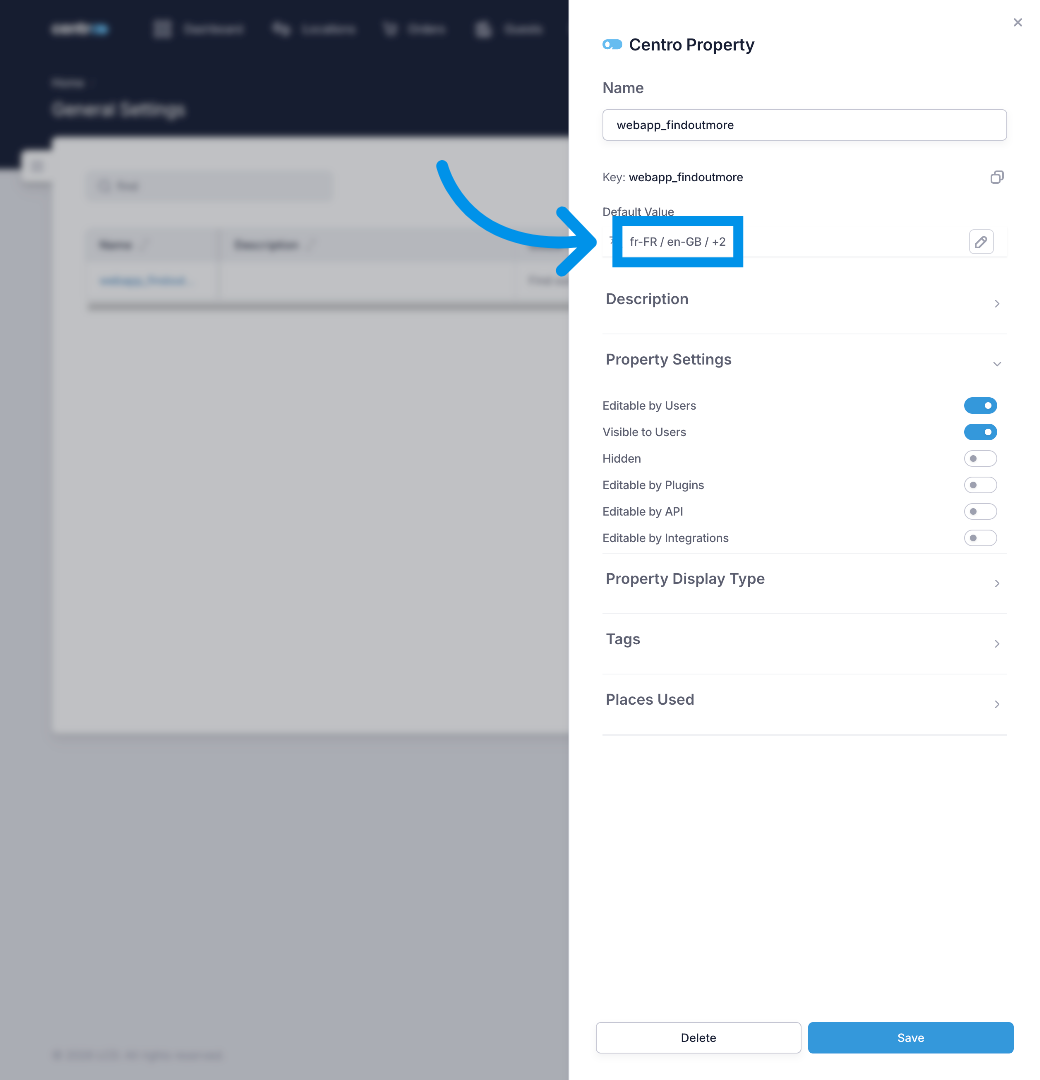
30. Open Language Options
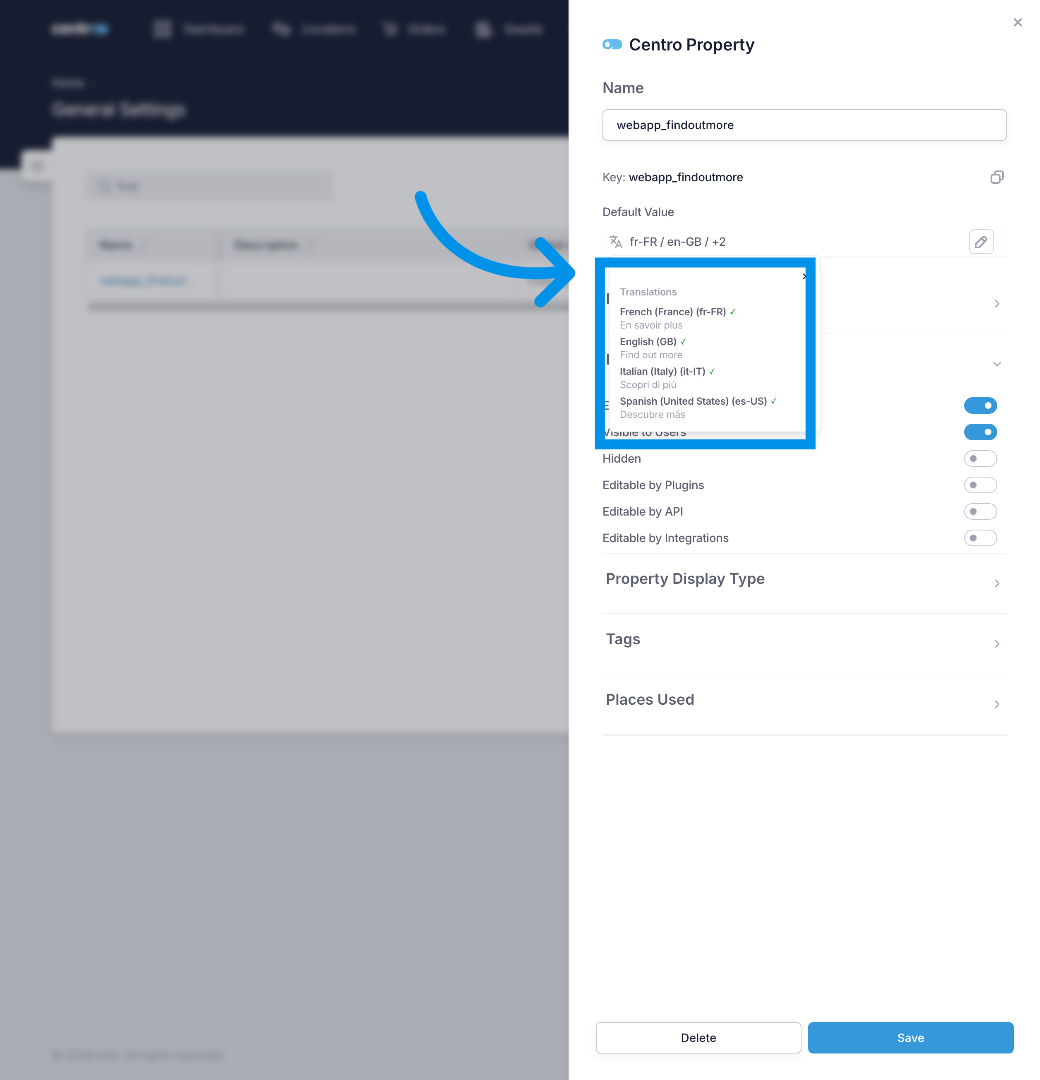
31. Close Language Menu
I can see a summary of all the translation and warnings of any missing ones.
32. Switch To App Network
Looking back at the user interface I can see that the Header is now correctly translated for the users required language.
Now you can easily add and manage custom translations within the Centro webapp to enhance multilingual user experiences. Start by creating translation keys and labels, then save and apply them across your platform with confidence.